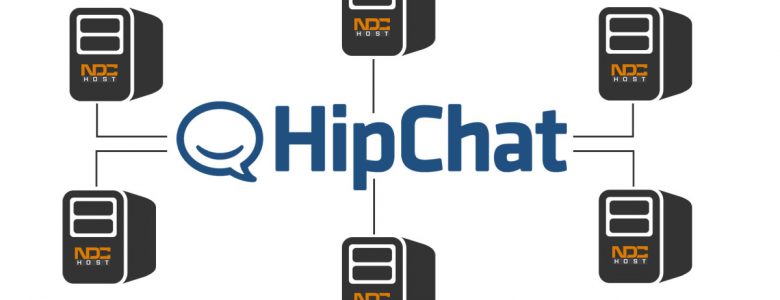
We are pleased to announce that our Cloud Server platform now supports purpose built images and our first image is “HipChat Server v2.2.2”. HipChat is a popular team collaboration tool that allows your team to communicate with one another though 1-to-1 chat, group chat, or video chat. It also allows you to share files, screen share, and do a lot more. For more information on HipChat, please visit their website at http://www.hipchat.com. Keep an eye out for more of our purpose built images as they become available. If you would like to see a specific App image feel free to send us a request to support@ndchost.com.
Deploying our HipChat server image.
- First step is to login to our customer portal by going to https://customer.ndchost.com. If you do not know your login details they can be reset using the “forgot password” tool.
- From the top navigation menu click “My Services” and then “Services”.
- Next find your cloud server instance from the service list and click it.
- From the left sidebar, under “Server Manager” click “Deploy New Image”.
- Inside the “Choose an image” panel click “Latest Apps” and then select “HipChat Server”
- Set your primary disk size and choose a swap disk option
- Next you need to set a root password. The HipChat server by default comes with root access disabled. You should still set a password, however you will access the server using the same methods described in the HipChat server documentation.
- Click Deploy and wait for the server to start.
HipChat server first boot
It may take some time after your initial deploy for the HipChat server to come up. The reason being that on first boot the HipChat server image runs a post installation script that prepares the server for use. You can expect to wait 5-10 minutes before being able to access HipChat’s web interface!