Table of Contents
How to Deploy a Cloud Server
Log in
Log into your customer portal interface.
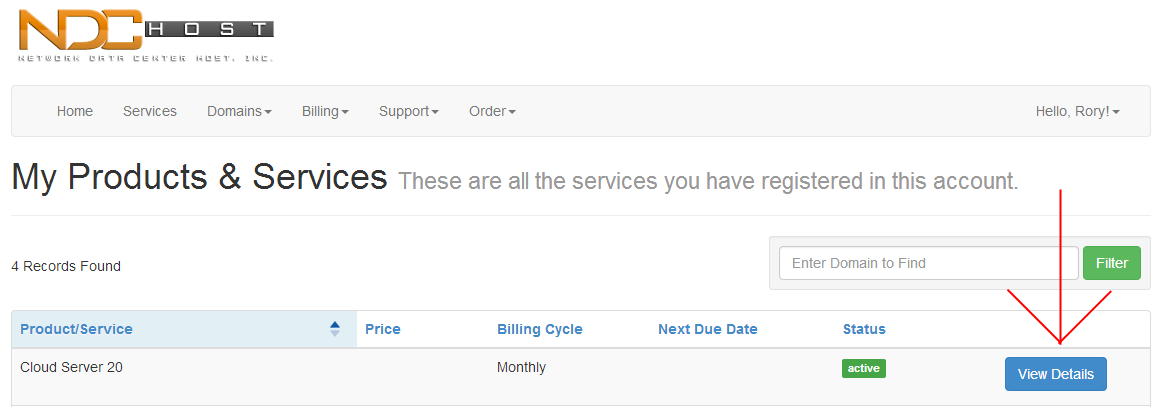
Once you have logged in, click on 'Services'

Choose the active server that you would like to adminster and click the 'View Details' button on the right.
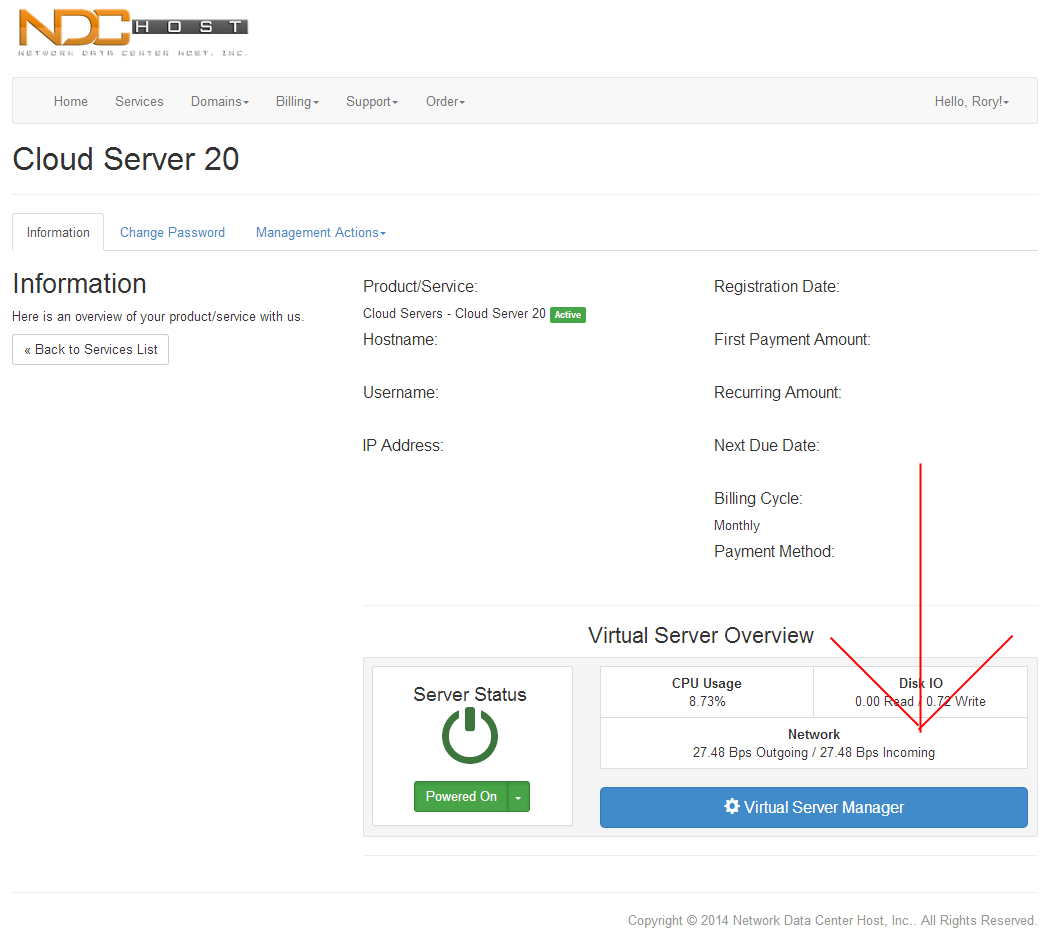
In the information screen, in the lower right hand corner, click 'Virtual Server Manager'
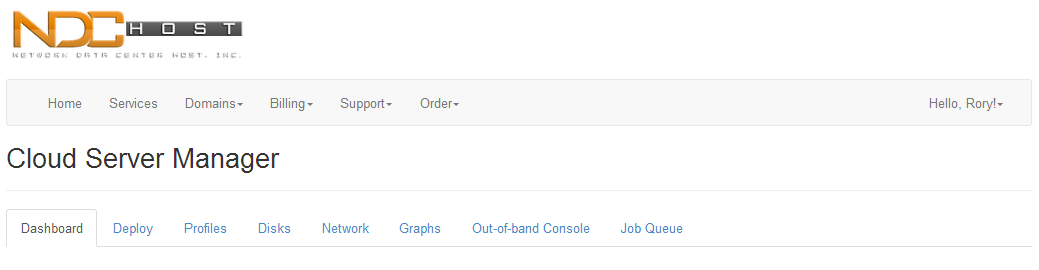
Deployment
Inside of the Cloud Manager, click 'Deploy'
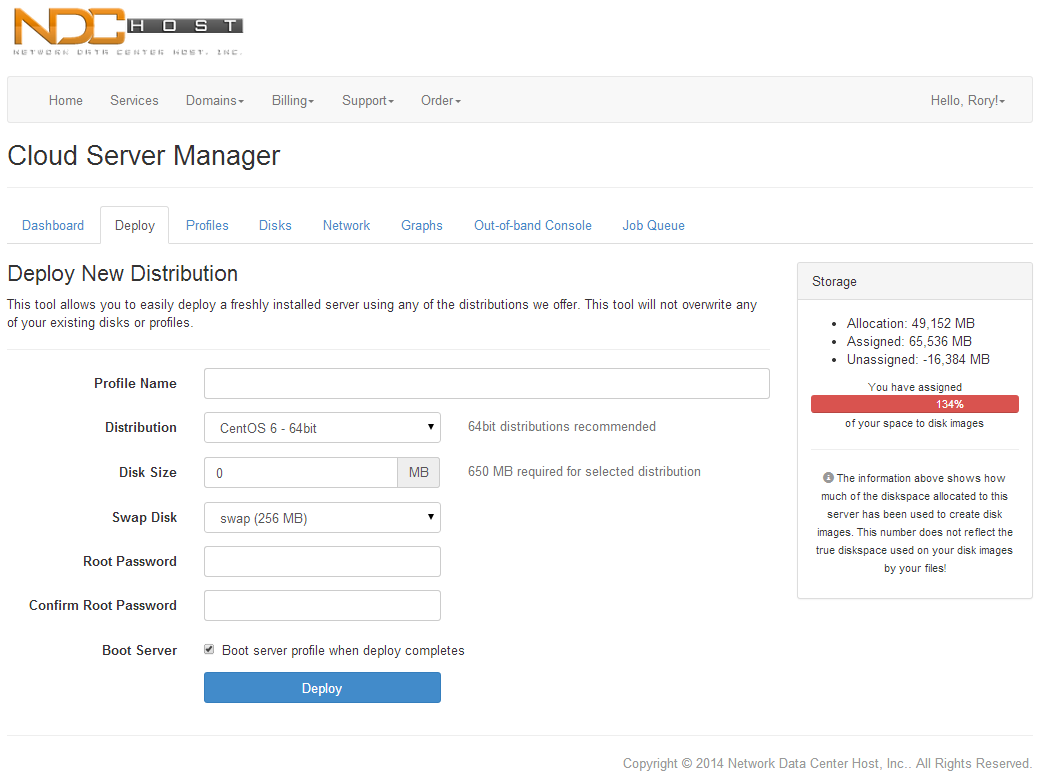
Under Deploy New Distribution, choose any name for the Profile, choose which distribution you would like it to have, fill in the disk size, fill in the swap size, and fill in the root password.
By default, the disk size will attempt to use the entire allocation space while leaving enough size for the swap disk.
Deploying a new distribution can also attempt to boot after the deployment is complete if the box is checked.
Once everything has been filled in, click deploy and the automatic process will start.
Under 'Job Queue' you can see how far along the setup process is and once it is complete, you can use your new Cloud Server!